In a previous post, I already covered the digitalization of the G1206 from Piko, but there was no sound module. This post covers the end-to-end digitalization including the installation of that sound module and its speaker.
Analog run
Here's a short video on the engine running analog:
Installation of the decoder
It is very easy to open the engine; refer to this video. Otherwise, the notice explains it clearly:
I used Piko 56403 for the decoder and Piko 56192 for the sound module:
Here are links to the various notices:
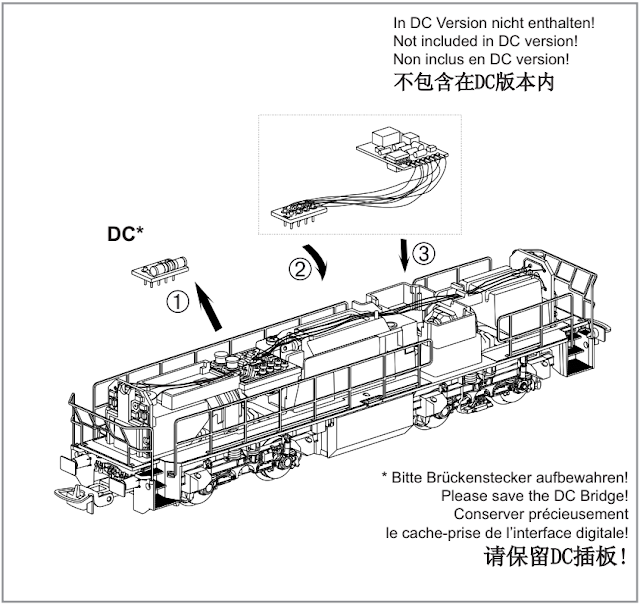
Removing the dummy decoder reveals the 8-broche NEM-652. Don't forget that the pin marked as 1 should receive the orange wire.
The notice is helpful here to know where to put the decoder:
And here's a test of the engine running in digital:
Installation of the speaker
The space for the speaker is located underneath the body. Two tiny screws need to be unscrewed:
Two brown wires need to be passing through the inside of the engine to come to the speaker box. They can then solder to the speaker, then the screws can be repositioned:
The challenge is now to make all the wires fit into the engine. The use of electrical tape is a must here:
And finally
Here's the final outcome:


