-->

Tuesday, December 21, 2021

Digitization of G1206 from Piko - part 2


In my previous post, I forgot to address the issue of setting a DCC address (pun intended) to the Piko G1206 VFLI. 

Since it is a Piko decoder, it cannot be programmed by the ESU LokProgrammer. The documentation for the Piko decoder and sound module can be found here:

  • Piko 56403 SmartDecoder 4.1 - link
  • Piko 56192 SoundModule - link

I tried to use the ECoS to read the address from CV1, but it would return an error:


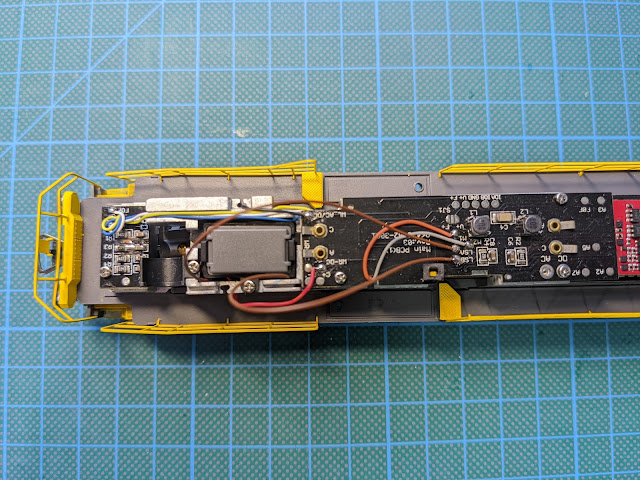
For the Piko decoder, it is important to use the program track:


To set the address to 744, I will use this previous post:
  • Compute CVs 17 & 18 with https://www.digitrax.com/support/cv/calculators/
  • Write CV17 = 194 and CV18 = 232 (previous values were 195 & 233)
  • Write CV 29 = 46 (previous value was 14)

With the documentation, I only need to adjust the icons as follow:


Monday, December 20, 2021

Digitization of G1206 from Piko - part 1


In a previous post, I already covered the digitalization of the G1206 from Piko, but there was no sound module. This post covers the end-to-end digitalization including the installation of that sound module and its speaker.


Analog run

Here's a short video on the engine running analog:


Installation of the decoder

It is very easy to open the engine; refer to this video. Otherwise, the notice explains it clearly:


I used Piko 56403 for the decoder and Piko 56192 for the sound module:


Here are links to the various notices:

  • Piko G1206 engine - link and link
  • Piko 56403 SmartDecoder 4.1 - link
  • Piko 56192 SoundModule - link

Removing the dummy decoder reveals the 8-broche NEM-652. Don't forget that the pin marked as 1 should receive the orange wire.


The notice is helpful here to know where to put the decoder:


And here's a test of the engine running in digital:


Installation of the speaker

The space for the speaker is located underneath the body. Two tiny screws need to be unscrewed: 


Two brown wires need to be passing through the inside of the engine to come to the speaker box. They can then solder to the speaker, then the screws can be repositioned:


The challenge is now to make all the wires fit into the engine. The use of electrical tape is a must here:


And finally

Here's the final outcome:


Saturday, December 18, 2021

Wiring - part 16


I just got the longer spring wires for the TD3 switch motor. It was quite easy to fit into the switch bar!


I did a quick test with a power block, just to be sure:


Sunday, December 12, 2021

Wiring - part 15


Now that the outside two tracks are fully functional, it is time to continue with the rest of the layout. I focused on sections G1, G2, and G3, which include switch motors TA3, TA4a, TA4b, TD3, and TD4:


I followed the usual process:

  • Use the tortoise template
  • Pre-drill for the 4 screws
  • Glue some track bed foam to limit vibrations
  • Insert 2 screws on the same side
  • Position the tortoise so the spring wire goes into the switch bar - this is the tricky part!
  • Keep the tortoise in that position while sliding under the table
  • Insert the other 2 screws and secure the switch engine


As I just mentioned, it can be tricky to position the spring wire from the Tortoise switch engine into the switch bar of the Peco switch. Case in point with TD3: the location is quite unfortunate:


After many attempts, I was not able to make it work because of the angle and the proximity of the benchwork. I decided to order a much longer wire and try to fit it from above the table; a wire of 0.025'' is needed here:

  • K&S Precision Metals 5005 Music Wire.025" X 12" Long - Amazon


As I'm waiting for those wires, I started to prep the other switch motors:


Saturday, December 11, 2021

Digitization of BB 660128 from Piko - part 2


I received a genuine speaker from Piko: Piko 56330


The installation is straight-forward and explained in details here. It looks like this:


Now the test!


And with everything back together:


Sunday, December 5, 2021

Digitization of BB 660128 from Piko - part 1


This post largely follows a previous one and is therefore very similar - link here.


Analog run

Here's a short video on the engine running analog - very smooth:


Installation of the decoder

It is very easy to open the engine; refer to this video. Otherwise, the notice explains it clearly:

I used Piko 56427 for the sound decoder:


The dummy decoder is easy to locate and remove:


Then, the new one is installed:


The manual is also very clear:


Installation of the speaker

The space for the speaker is occupied by a weight. It is removed by unscrewing two tiny screws: one is holding the weight and the other holds the PCB: 


In the spare parts, we need two rectangular plastic components that will hold the speaker in place, and will like serve as a soundbox. As you might have seen on the previous picture, the speaker I had was too large and I had to order another one. I could not immediately find a Piko speaker, so I ordered something similar: 
  • Train Control Systems N 1699 - link


According to the manual, the wires to the speaker need to be soldered directly on the PCB:


It can then be put into the soundbox and located back into the engine:


All of those steps are explained clearly in the notice:


ECoS configuration


Digital run

Here's a short video on the engine running digital - smooth, but not happy with the sound:


I'm waiting for a genuine Piko 56330 speaker ....