-->

Sunday, March 7, 2021

Digitization of Piko engines: BB 460000


Following on my quest to digitalize my engines, I want to make a digital consist of two BB 460000, just like the prototype below:

https://www.flickr.com/photos/150753720@N04/48536721122/

For this consist, I have BB 460054 and BB 460050 as Piko 96479 and Piko 96470, both in DC.


Digitization of BB 460054


I decided to have the BB 460054 with the sound decoder from Piko. First, let's do an analog run:


Then, I opened the engine: there are 3 screws to remove; it's easy to follow the instructions. The cabin comes out first, then the back of the structure, and by pivoting the front comes out fairly easily too.


For the decoder, I chose the Piko 56427 SmartDecoder 4.1 Sound PluX22 


It can be purchased here and at several online stores as well. The manual is here. The speaker needs to be soldered onto the engine's circuit board, so I decided to test the decoder first:


For the sound, there are two steps:

  1. Solder the wires from the speaker onto the engine's circuit board. It's well explained in the instructions and there is no + or - wires;
  2. Remove two screws that hold a metal weight and place the speaker into the plastic holder provided as a spare part.


And let's give it a try:


And here's the final result for this engine:


Digitization of BB 460050


For the BB 460050, I used a blank ESU decoder LokPilot V5.0 DCC Plux 22 - ESU 59622


As you can see the running is not as smooth as the other engine which will be an issue when trying to run as a consist.


Saturday, February 20, 2021

Digitization of Piko engines: G1206 and Traxx BR186

I have several Piko engines that are frequently present in configurations running in the north of France: G1206 and Traxx BR 186.


G1206 VFLI


The typical configuration is this G1206 VFLI with unloaded flat freight cards:


Piko released this engine as 97719:


I used an ETF G1206 also from Piko to try out inputting the decoder. Here's the engine running on DC:


I purchased Piko 56403 Smartdecoder 4.1 to digitizale those engines: 


The only thing to pay attention to is the way to plug the 8-pin connector - the orange is on pin 1.


On the circuit board of the engine, there is usually an indicator for pin 1 as circled in red below:


Just need to replace the "fake" decoder with the real one:


And here's how the machine is running in digital:


Traxx BR 186 Railpool


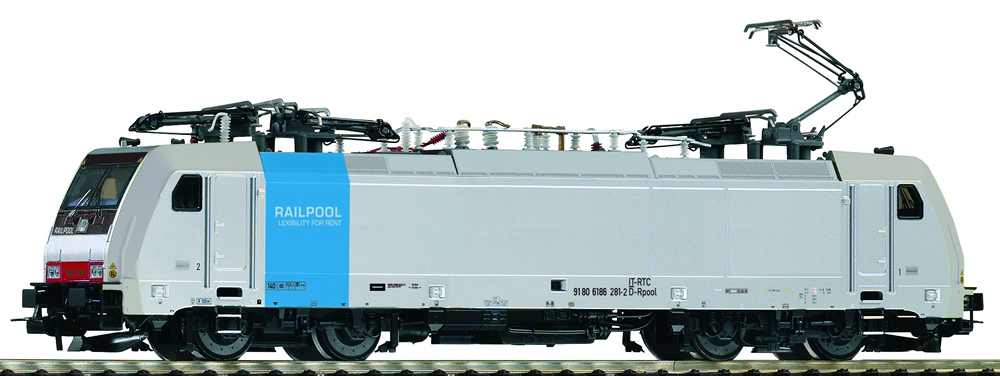
Another typical engine running in the north of France is the Traxx BR 186 Railpool:


Piko released this engine - or very similar - as 59952:


I used an HLE 2813 also from Piko to try out inputting the decoder. Here's the engine running on DC:


And here's how the machine is running in digital:


Sunday, February 7, 2021

ESU lighting for passenger cars

 After my previous post, I did a bit more research and came across those two videos:


I found the neon effect, the red taillights, and the control of sections to be very valuable. The lighting kit has its own decoder, so compared to the previous solution, this allows for much more features.


List of components

ESU has several items for interior lighting:

  • ESU 50708 - Digital LED lighting strip "warm-white"
  • ESU 50709 - Digital LED lighting strip "yellow"


  • ESU 50710 - PowerPack for LED lighting strip
  • ESU 50707 - Power wheel pickup for LED lighting strip


  • ESU 50705 - red taillights
  • ESU 50704 - "warm-white" cabin light


By default, the ESU 50708 and 50709 come with red taillights, so ESU 50705 could be interesting for fret wagons. Both ESU 50708 and 50709 have an AUX output, which means that that decoder could control the driver cabin light with ESU 50704.


Power wheel pickup


ESU 50707 seems to work quite well, but there are alternative solutions. Probably, the easiest one is from Miniature Passion with kits specific for each type of cars:
Another option is explained in this video.


Digital LED lighting strip

The English documentation is here. I found the documentation a bit complex, and using the LokProgrammer makes it actually very easy. Here's what I've done to have the "Neon" effect"


I did the same adjustment to each group of LEDs and uploaded the settings into the decoder.

Here's a summary of the functions to call:
  • F0 F0 turns on the red rear light (direction of travel)
  • F1 switches the external load (AUX1)
  • F2 switches all the LEDs together
  • F3 switches the LEDs 1-3 (group A)
  • F4 switches the LEDs 4-5 (group B)
  • F5 switches the LEDs 6-7 (group C)
  • F6 switches the LEDs 8-9 (group D)
  • F7 switches the LEDs 10-11 (group E)

Here's the neon effect on my LED strip:


The next step is to decide between yellow and warm-white and then to mount those into my passenger cars:

  • Lima & Jouef RIO Nord-Pas-de-Calais
  • Trix & Märklin TEE
  • Vitrains VB2N Nord-Pas-de-Calais
  • LS Models Corail +
  • Lima & Os.Kar M4 and M4m
  • Electrotren TEE Talgo
  • Models World MW1802
  • LS Models Corail + Carmillon
  • LS Models I11, I10, and I6
  • Models World MW1702
  • LS Models DB Sleeping cars
  • LS Models M6


Monday, February 1, 2021

DIY lighting for passenger cars

I've been doing some research on how to add lighting to passenger cars. I'm working on adding lighting to my Z24500 Nord-Pas-de-Calais and I'm not fully satisfied. Here's what I've found so far:

The required materials seem to be quite easy to get:

Monday, January 18, 2021

ESU ECoS - Engine image - part 2

I wrote one post in the past about how to upload a loco image on the ECoS, but we assume that the image is available from the ESU website; in other words, we assume that someone else has done the work already.

This post is about creating those images for the ECoS. First off, here are the specifications:

  • Size must be 190 x 40 pixels
  • Format must be BMP
  • Background color can be B6B6B6

I found two videos that were most helpful:


Sunday, January 10, 2021

Programming ESU decoders with the ESU LokProgrammer

Following up on the previous post, today we are looking at the configuration of ESU decoders with the ESU LokProgrammer device and program.


Hardware and software

This is reference 53451 that is already mounted on my test bench:


The documentation is available here and the software to install from here.


Programming

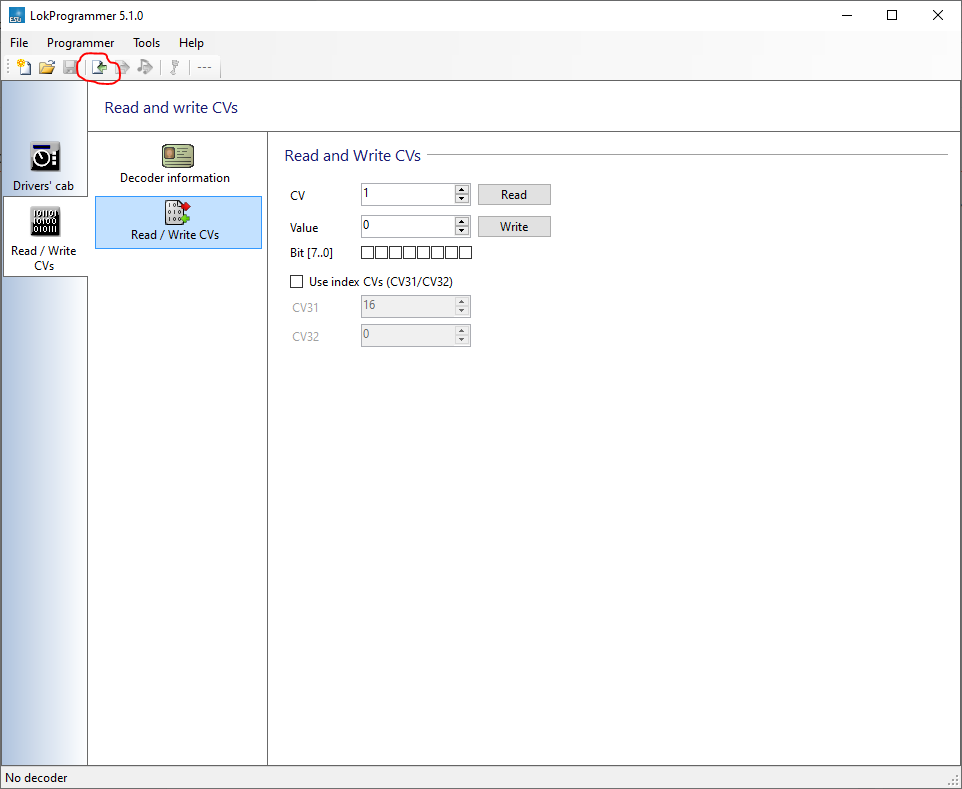
1- The first step is to download the original setup and store it as a reference point: click on "Read decoder data"


All the factory settings are displayed.


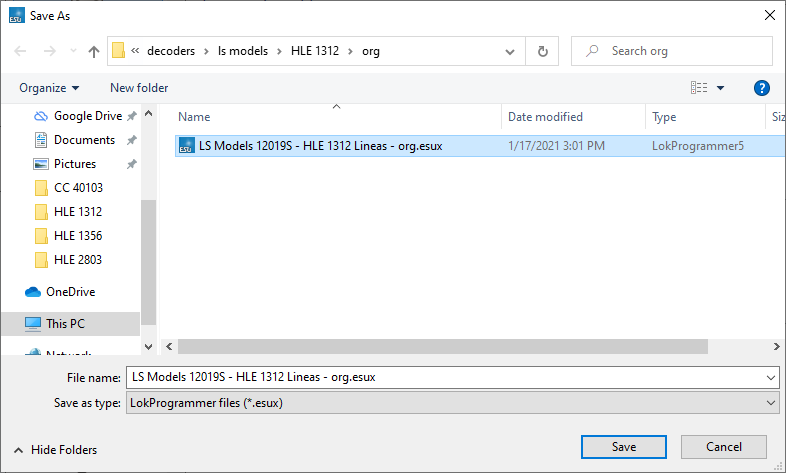
This version is immediately saved as the reference point:


2- As mentioned in the previous post, I'm not going into all the parameters of the decoder, but rather focus on the address of the machine as well as the description.

For address above 128, it is considered a long address and the related checkbox must be selected:


The name provided below will be used as the engine name through RailCom:


Once the address and description are set, I save the project and write the data onto the machine:


3- It's easy to test everything directly from the LokProgrammer:


And it works!


Sunday, January 3, 2021

Programming Zimo and M4 decoders with the ECoS

Since the workshop is too cold now, I'm putting the test bench to good use. I'm setting my DCC engines' addresses and reviewing the overall decoder configuration. I'm not going too deep into all the CVs for now.

So far, I've encountered three types of decoders: ESU, Zimo, and M4. I can program ESU decoders with the ESU LokProgrammer mounted on my test bench. Since the LokProgrammer supports almost only ESU decoders, I then have to use the ECoS to configure Zimo and M4 decoders.

  • ESU decoders for ESU and LS Models engines, as well as decoders from Train-modelisme.com
  • Zimo decoders for Roco engines
  • M4 decoders for Trix engines


Programming Zimo and M4 decoders with the ECoS


Here are the steps to program a Zimo decoder that seats inside the Roco 73215 Traxx Lineas:

1. Make sure the track is plugged into the Prog connector of the ECoS

2. Add a new loco, go to the Advanced tab, and click on Start:


3. After a minute or so, information about the decoder inside the model will be displayed:


4. On the next side tab, I can set the address of this engine:


When choosing a long DCC address (>127), it is very important to check the last checkbox! There is more to explore in the next few side tabs, but I've not looked into those yet.


5. On the Properties tab, I can set the various functions. Either I have the documentation or I can test each function, either way, it's pretty easy to set the icon and type of each function:


6. On the first tab, I can set the name and the image:


And voilĂ :


The next article will be about ESU LokProgrammer.


Sunday, December 13, 2020

Closing the rack - wiring - part 10

 With all the shelves wired to the Molex connectors, I can now close the rack!


And while turned on:


Monday, November 30, 2020

Wiring - part 9

 This is the last part of wiring before closing the rack! This is for shelf #1 with the 4 Lenz LS150 that commands the switch motors.


Not much to mention here; it's the same process as before.


Sunday, November 29, 2020

Wiring - part 8

In this section, I focus on the connections between shelf #2 in the rack and the layout. I have spent a fair amount of time finding connectors that can carry the 5 Amp from the command station to the layout. I chose the MX150 connectors from Molex.


Connectors Molex MX150


Those connectors are meant for the automobile industry but will suit my needs just fine. They are available on Amazon, but also on Digi-Key and Mouser:
The instructions are pretty clear, but it takes a bit of practice to wire those things properly.

In addition to the connectors, the following supplies were needed:
  • IWISS Open Barrel Terminal Crimper on Amazon
  • 18 Gauge cable on Amazon
  • Cable tubing 1/2 inch and 3/4 inch on Amazon


Connector diagram


Here's the wiring diagram for shelf #2 to the Molex connectors:


Final result


I've tested each terminal connection from the shelf to the screwing terminal that will be positioned under the layout and everything worked as expected!