-->

Sunday, December 17, 2023

Putting decals on a truck trailer - part 1


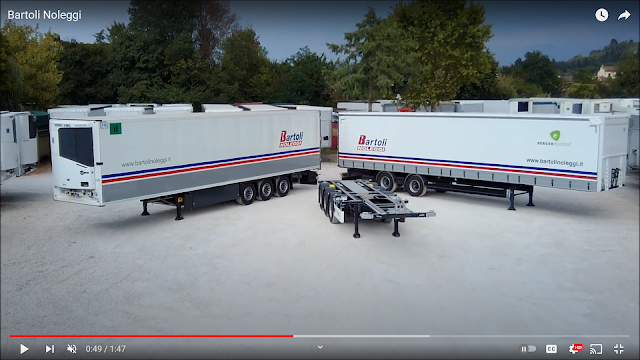
Many of the train formation I'm interested in use the Lohr freight wagons that carry truck trailers. Not all designs/liveries are available as miniature trucks, so I thought it would be good to learn how to apply decals on a trailer.

In this case, I bought the decals first, rather than getting the decals from a photo I saw.


Decals

I bought those decals from Max-Model in Italy:

https://www.max-model.it/en/italy/2238-bartoli-noleggi-trailer-m62610.html


Prototypical truck

Bartolli is a truck rental company near Florence in Italy: 

https://www.bartolispa.com/

And here are some pictures of the trailer:

https://www.bartolispa.com/noleggio/veicoli-a-noleggio/rimorchio/bartoli-rent-euro-33-frigo


Miniature trail

The base is a blank trailer from Herpa. I applied the first large side based on the method detailed before.


It needs to dry for a day, so let's check back again soon ...


Saturday, December 2, 2023

Récapitulatif complet pour ma rame RIO Nord Pas-de-Calais


BB 516646


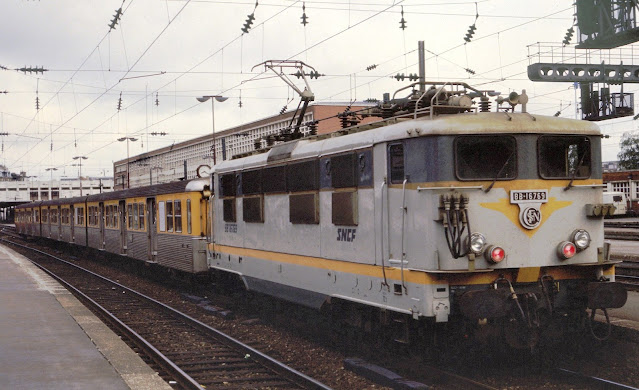
This is an 16500 engine I wanted to convert to DCC sound for a while now; to go with the Lima RIO units.


The decoder is from Miniature Passion:


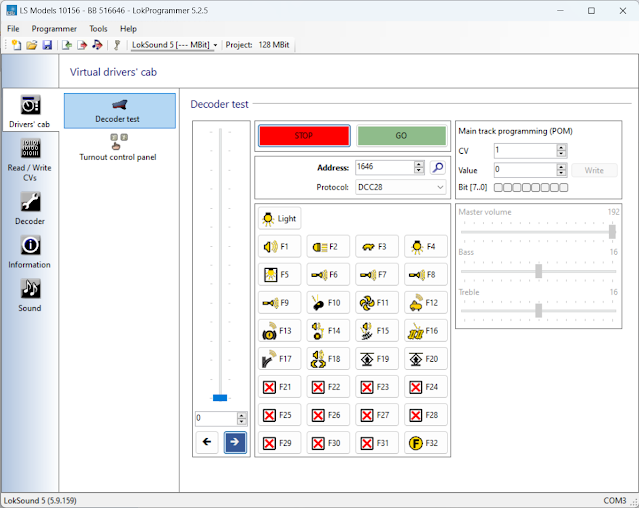
I programmed the decoder on my test bench:


I then brought the engine onto the layout to register it on the ECoS through RailCom, but somehow it didn't pick it up as a DCC decoder, but rather a M4. I have no idea why!!


RIO Nord-Pas-de-Calais - part 21 out 21


And now that the unit is fully completed, here are some more pictures and personal videos:


https://upload.wikimedia.org/wikipedia/commons/3/39/Lille_Flandres_apr_1980.jpg

https://www.cheminots.net/topic/48039-rib-rio-rrr-photographies/

https://www.cheminots.net/topic/48039-rib-rio-rrr-photographies/

https://www.cheminots.net/topic/48039-rib-rio-rrr-photographies/

https://www.flickr.com/photos/126254131@N05/40161056753/


Friday, December 1, 2023

My first decals


I have a couple of projects with decals, so I need to get started on this new topic. I mostly followed this tutorial:


He nicely provided a PDF that outlines the steps: https://www.plastikdream.com/web/proc_pose_decal.pdf


Here are the required tools:

  • Micro Set and Micro Sol
  • Toothpicks and Q-tips
  • Brush pens
  • Hobby knife
  • Flat tweezers

And the steps:

  1. Prepare surface with Tamiya X-22 diluted 50/50 with Tamiya X-20A Thinner
  2. Let dry for 24h
  3. Cut decals
  4. Put decals with flat tweezers in lukewarm water for 10-15 seconds
  5. Place wet decals on paper towel and add more water with a pipette, wait 1 minute
  6. Apply Micro Set with the brush pen generously 
  7. Slide the decals on that surface
  8. Use toothpick to position decals
  9. Roll Q-tips to remove excess Micro Set and air bubbles
  10. Apply Micro Sol with brush pen generously 
  11. Let dry for 24h
  12. Use 5000 or 7000 grid sandpaper
  13. Finish with Tamiya X-22 diluted 50/50 with Tamiya X-20A Thinner
  14. Let dry for 24h


Here's my first attempt - not fully dry just yet.


Thursday, November 30, 2023

RIO Nord-Pas-de-Calais - part 20


I finally got to the number plates for my RIO units!


I'll start with the E46 unit:


I cut each piece with a hobby knife:


With a sanding bar, I remove the excess material:


I use double-sided tape on a foam board:


I then clean each piece with 70% alcohols:


I airbrush some STYNYLREZ primer GRAY - link:


Here are some pictures I used to find the best colors and positioning:

https://www.instagram.com/p/Cv2bhGzozo8/

https://www.instagram.com/p/CKMHpgZnblx/


For these two colors, I choose spray cans:
  • Montana Gold 2050 Orangina
  • Montana Gold 6250 Dolphins


The blue looks a bit too blue ...


For these plates, I use a black sharpy and put some masking tape. I'm not super happy with the results:


For the "blue" plates, I use a fine sanding block and that works very well:


I use Zap-A-Gap Medium CA+:


I was concerned about the white residue or glue-haze from CA glue, but it seems that if you operate in a warm-ish and dry-ish place, it would mostly prevent the residue to happen - link


Tuesday, November 28, 2023

TEE RAe

 I was lucky to purchase the TEE RAe set ...


Prototypical unit

There were only 5 of those units and they were assigned to routes between Switzerland and Italy, with one route going to Paris - more details here:

  • TEE Gottardo, Zürich – Milano
  • TEE Cisalpin, Milano – Paris
  • TEE Ticino, Milano – Zürich

https://www.flickr.com/photos/160979841@N05/52350769514/


Miniature model

My model was made by LS Models referenced 17021. I got the analog version and want to convert it to DCC Sound.

There are two sound projects on the ESU website:


But, when looking at the details of the available functions, it has a limited number of functions:


Especially on the lighting functions available on the notice:


I decided to open a car to make sure the lighting was already installed even though I bought the analog version, and great news, there's the lighting strip in the car:


We can even see that the destination panel can be lighted.

Looking at the units and notice, it seems that:
  • Current is picked up from the two end cards
  • Motor car, the one with the 4 pantographs, carries the PCB where to position the decoder and speaker

I'm now trying to find the original sound decoder from LS Models: