Loco Revue № 851 from June 2018 tells us how to make such a transformation and how to replace existing lights with CMS LEDs. I provide a link here. I bought 3 items from Miniatures Passion:
- Circuit board MPPE451 - item and instructions
- Lighting kit "2 lights" MPEL110CMS - item and instructions
- Decoder ESU 54617 Lokpilot V4.0 Plux22 specifically programmed by Miniatures Passion - item

I started by transforming BB 67329 from Lima (reference 208011). It turned out that this model is a 3-light engine, not a 2-light one. I, later on, switched the body with BB 67382 (reference 208576).
Opening the engine
To open the engine, I had to remove the screws in the middle of the chassis and two on each end-side underneath the buffers.
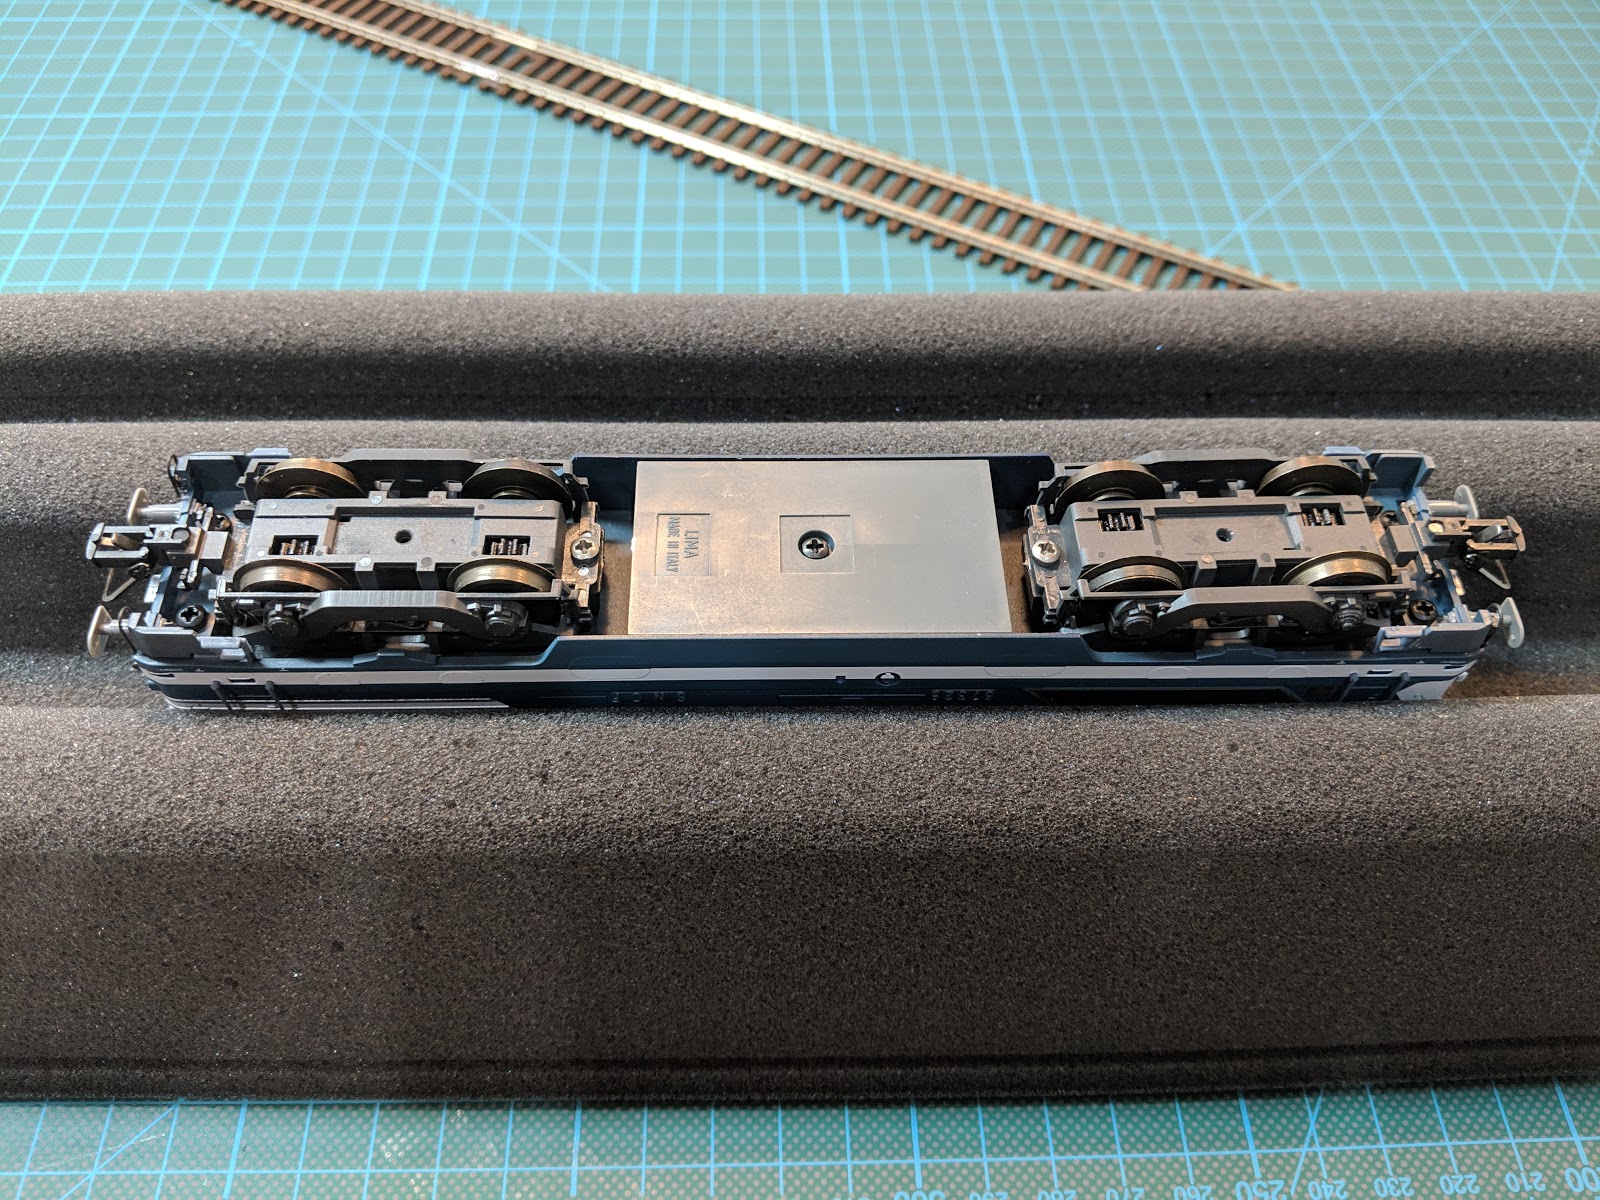


Then, I had to spread the sides of the body to separate it from the chassis. It goes fairly easily. The footboards fell aside by themselves.

I kept all the small parts separately.

I did a quick test on analog, specifically to see how the lights work.

I took several pictures of the wiring, just in case I messed up something - this is for reference below:


Preparing the circuit board
Since I planned to plug the lighting module, I soldered the resistors for that module in the first place. Then I tinned the various connectors as per the instructions.


Installing the circuit board
I unsoldered the wires from the existing circuit board. I did intend to keep the current wires.

To remove the board, I unclipped it from the board. There are 4 black clips in the middle of the board.

To remove the lighting module on each side, I just had to put a small screwdriver between the small circuit board and the chassis and do a gentle twist. It came off pretty easily.


Then, I clipped the new circuit board into the same position and soldered the wires as per the instructions:

One end with a wire for each trackside:

Wires to the motor:

The other end with a wire for each trackside:

And that is it!

Testing the newly digitalized engine
First, on the test stand:
Then, on the tracks: